
How to Make Easy Homemade Nontoxic Fall Candles
Oh, sweet friends, fall is hands-down one of my favorite seasons! The crisp air, vibrant colors of changing leaves, and the irresistible scents of autumn—like apple pie, pumpkin spice, and apple cider—make it the perfect season for burning candles to feather your nest. There’s just something special about lighting a cozy candle that makes your home smell like a warm, inviting hug as the seasons turn chilly. I am a big candle fan year round, but I am not a fan of burning candles that are filled with harmful ingredients.
Since becoming a mom, I have become a lot more cautious about what household products I use around my loved ones. I have actually started making my own candles and soaps that are cleaner and smell wonderful! If you are like me, and love a cozy candle but don’t love harmful ingredients, here’s the good news: you don’t need to rely on conventional candles loaded with synthetic fragrances or paraffin wax. You can make your own handmade nontoxic candles that smell amazing, are free of harsh chemicals, and still help you achieve that perfect homey feel.
With this super simple guide, I’m sharing the best way to craft your own homemade non-toxic fall candles using natural ingredients like soy wax and pure essential oils. Whether it’s your first time dipping into candle making or you’re a seasoned pro, this step-by-step will have your living space glowing with the cozy scents of fall in no time.
Why Choose Non-Toxic Candles?
Let’s talk about why non-toxic candles are a game-changer. Traditional candles, often made with paraffin wax (a petroleum byproduct), can release harmful chemicals into the air when burned. Toss in artificial fragrances and lead core wicks, and you’ve got a recipe for respiratory problems or hormone disruption. That’s where nontoxic soy candles, beeswax candles, and coconut wax candles shine. These natural waxes are clean burning, meaning they don’t release toxic chemicals into your home. Pair them with lead-free wicks like a natural cotton wick or wooden wick, and pure essential oils or toxin-free fragrance oils instead of synthetic scents, and you’ve got a candle that’s as safe as it is dreamy.
Non-toxic candles are especially perfect for the fall season when we’re all craving those warm, inviting scents for longer periods of time. Imagine your entire house filled with the aroma of pumpkin pie spice or cinnamon sticks without worrying about what’s floating in the air. Plus, soy wax holds onto your favorite scent longer than paraffin candles, so you get to enjoy that amazing smell all the way to the bottom of the jar. Ready to make your home smell like a cozy fall cabin or baked autumn treat? Let’s gather our supplies and get crafting!
What You’ll Need for Homemade Fall Candles:
Here’s my go-to list of natural products you’ll need to create your own nontoxic candles (note: some links are affiliate links, meaning I may earn a small commission at no extra cost to you):
• Soy wax flakes, beeswax pellets, or coconut wax (for a creamier texture and smoother burn)
• Pure essential oils for those favorite fall scents (think apple cider, pumpkin pie spice, or whole spices like cinnamon sticks and cloves)
• Natural cotton wicks or lead-free wick with a wick sticker for easy setup
• Mason jars, upcycled tins, or any heat-safe candle container
• Crock pot or double boiler for melting wax
• Wooden spoon for stirring (keep this separate from your regular kitchen utensils)
• Coconut oil (optional, for a silky wax finish)
• Food thermometer and food scale for precise measurements
• Wick holder or pencil to keep wicks centered
• Optional: Whole spices or dried herbs for a decorative touch
You can snag high-quality soy flakes, essential oil candles, and other supplies online or at your local craft store.
Step-by-Step: Crafting Your Non-Toxic Fall Candles
Alright, let’s roll up our sleeves and make some cozy candles! This easy way to craft homemade candles is perfect for beginners and pros alike. Follow these steps to create your own small batches of fall candles that’ll make your home smell like a dream.
Step 1: Melt the Wax
Start by melting enough wax for your project. For two 8 oz mason jars, you’ll need about 1 lb of soy wax flakes (or coconut wax if you’re feeling fancy). Use a crock pot or double boiler to heat the wax to 185°F. Be careful not to overheat your wax. Stir slowly with a wooden spoon to avoid air bubbles, which can mess with the smooth finish of your candle. If you want a softer, creamier texture, add a tablespoon of coconut oil per pound of wax. This is where the magic begins, and your kitchen starts to feel like a candle-making haven!
Step 2: Add Your Favorite Fall Scents
Once the hot wax cools to 135°F (check with a thermometer!), it’s time to add your scent. For non-toxic candles, stick to pure essential oils instead of fragrance oil or synthetic scents. You can also find safer fragrance oils if you’d like to go with a more complex scent. Calculate the amount of fragrance oil you need using the percentages on your fragrance labels. A good rule of thumb is 1 oz of essential oils per pound of wax, but you can adjust for a lighter or stronger scent. For those classic scents of autumn, try these blends:
• Apple Pie Glow: 20 drops apple cider essential oil, 10 drops cinnamon stick, 5 drops vanilla.
• Pumpkin Spice: 15 drops pumpkin pie spice, 10 drops clove, 5 drops nutmeg.
• Cozy Orchard: 20 drops apple cider, 10 drops cedarwood, 5 drops bergamot.
Stir the oils into the wax for 2 minutes to fully blend. This locks in the cozy scents so they last from the first light to the bottom of the jar. If you’re feeling extra creative, toss in a pinch of dried herbs or whole spices like cloves or a cinnamon stick for a rustic look (just keep them away from the wick!).
Step 3: Prep Your Wick
While the wax cools, set up your candle container. Place a wick sticker at the bottom of the jar to anchor your cotton wick or lead-free wick. Center the wick and use a wick holder, pencil, or even a chopstick to keep it straight. This ensures an even burn and prevents the wick from drifting when you pour the wax. Pro tip: If you’re making wax melts instead, skip the wick and pour into silicone molds for easy popping.
Step 4: Pour the Wax
When the wax hits 120°F, it’s ready to pour. Slowly pour the wax into your mason jars or containers, leaving about ½ inch of space at the top. This prevents overflow and gives your candle a clean look. If you notice air bubbles forming, gently tap the jar to release them. Let the candles sit undisturbed for 48 hours to cure. This curing time helps the scent settle and ensures a strong, lasting aroma when you light it up. For best results, wait 1-2 weeks before you light your candle for the strongest possible scent throw.
Step 5: Trim and Light
After curing, trim the wick to ¼ inch above the wax surface. This keeps the flame steady and prevents excess soot. Light your candle, and let the warm, cozy scents of fall fill your living space. A single 8 oz soy candle can burn for 40-50 hours, making it perfect for chilly evenings or cozy gatherings with friends.
Extra Tips for Candle-Making Success
If you’re new to candle making or just want to up your game, here are some extra tips to make your fall candles shine:
• First Time Jitters? Start with wax melts. They’re easier to pour and great for testing scents before committing to a full candle.
• Avoid Air Bubbles: Pour slowly and at the right temperature (120°F) for a smooth, professional finish.
• Unique Scents: Experiment with blends like apple cider and cedarwood or pumpkin pie spice with a hint of orange for a custom touch.
• Clean Burning Every Time: Always use lead-free wicks to avoid toxic fumes. Cotton wicks are my go-to for a steady, soot-free flame.
• Repurpose Containers: Save old mason jars, tins, or even thrifted glassware for a sustainable, budget-friendly touch.
• Too Much Wax? Store leftover wax in an airtight container for your next batch or make wax melts!
Why You’ll Love These Homemade Fall Candles
These non-toxic fall candles aren’t just about making your home smell amazing—they’re about creating a safe, cozy atmosphere without the worry of harmful chemicals. Unlike paraffin candles, soy candles and coconut wax candles burn cleaner and longer, giving you up to 50 hours of enjoyment from an 8 oz jar. These natural waxes hold onto your favorite fall scents beautifully, so every light feels like a trip to an autumn orchard or a cozy bakery without the worry of additives. Plus, crafting your own candles in small batches lets you customize every detail, from the scent to the container, for a truly personal touch.
Another perk? You’re in control of the ingredients. By skipping synthetic fragrances and lead wicks, you’re keeping your air clean and your home healthier. Whether you’re curling up with a good book, hosting a fall gathering, or just winding down after a long day, these candles bring the warmth and comfort of the season to life. There is also something so satisfying about lighting a candle you made yourself!
Keep the Cozy Going
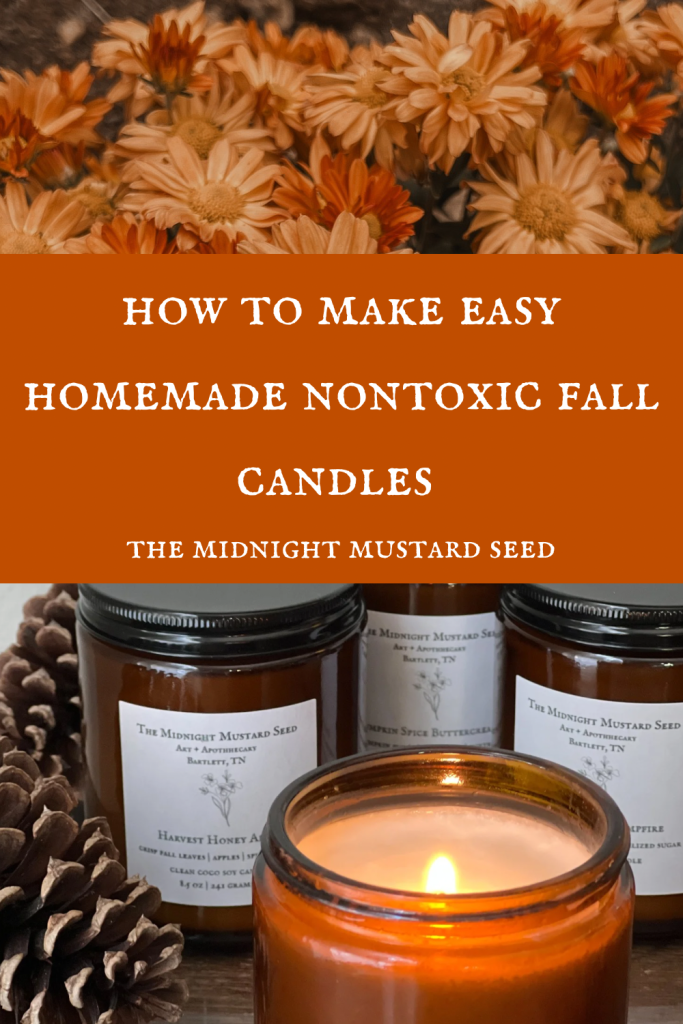
I hope that you have great fun crafting your own nontoxic fall candles. They are a wonderful project to enjoy in your own home or to toss in a homemade goodie basket for a hostess gift this gathering season. If you are interested in more candle making or nontoxic soap making, you can find more fun tutorials and project ideas HERE. Want to shop my handmade candles? Find them in the shop.
Blessings,
Samm


