
How To Make a Hanging Wall Planter With Pottery Clay
This post contains affiliate links, which means I make a small commission at no extra cost to you. See my full disclosure here.
In the springtime, there is nothing in my home that I enjoy more than a houseplant. Seeing green leaves and sprouts peeking out of the corners of each room really gives me that feeling that new life and warmth are just around the corner. For a new collaboration with an amazing local painter, we decided to lean into spring. So today I will be sculpting some ceramic wall planters for her shop! She will be painting them in her beautiful, bright color combinations for the spring season.
What is a ceramic wall planter?
A ceramic wall planter is essentially an open vessel that hangs on the wall in some fashion. You can make them in different sizes and virtually any shape, like a round form, envelope, cylinder, or volcano shape. These are just a few diy wall planter ideas. The pot’s shape and design are really up to your imagination!
What can ceramic wall planters be used for?
Ceramic planters are great for hanging indoor plants in any room. They are also great for air plants, if you’re into those. These pots even work for artificial plants if you don’t have a green thumb. There is no shame in using faux plants to add that earthy feel. Want your home to feel like a greenhouse? Make your own custom plant wall installation by grouping several ceramic wall planters together! You can have your own vertical garden. These ceramic pots can really pack a design punch.
Wall planters are such a wonderful spring project. Making your own diy ceramic wall planter is also a great way to use up any extra clay you have lying around your studio. If you’d like to make your own wall planter, follow along with this step-by-step tutorial. At the end of this project, you will have your own beautiful wall planter ready to fill! Only a few materials are needed-power tools (except for a kiln and maybe a wheel) not required!
Materials:
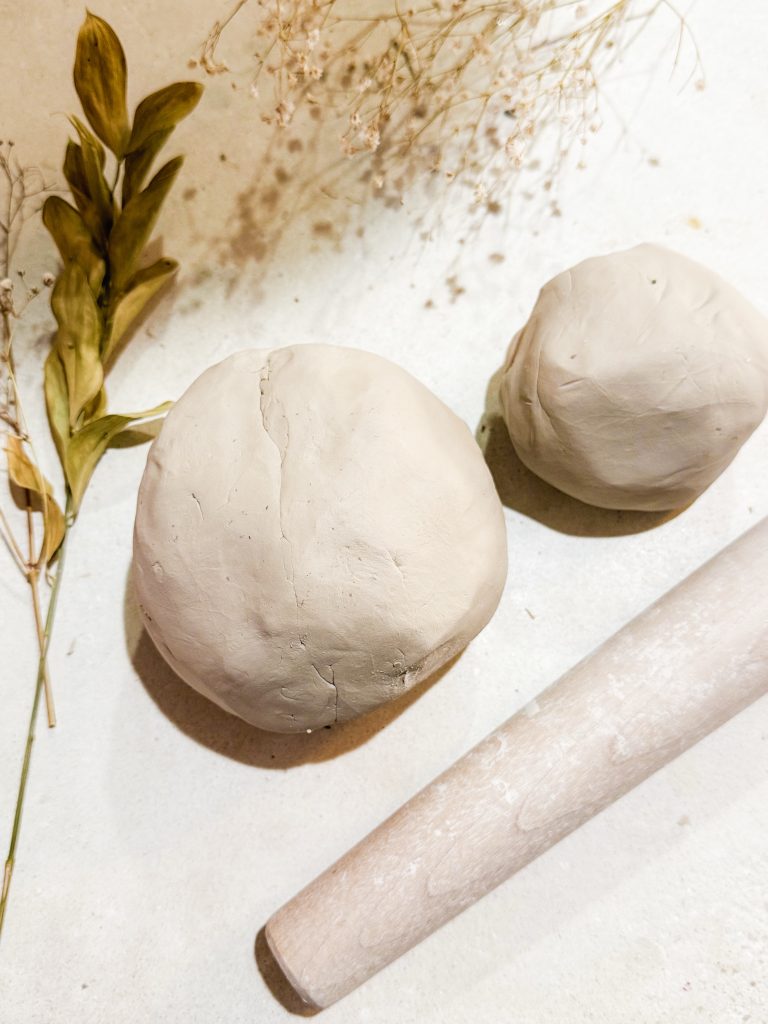
- a ball of clay (both stoneware and porcelain clay bodies will work. Waste clay can also be used if in the same firing range)
- rubber rib or flexible steel rib
- Rolling pin
- Kiln access
- Paint brush
- Little jar with some water in it
- Pottery glaze or paint depending on your desired finish
- Carving tools*** optional if you want to add a few simple carvings
- Pottery wheel **optional if you want to throw a round orb shape
-wire tool ** only necessary if you decide to wheel throw a round pot to hang.
Slab Built Wall Planter
You can build ceramic wall planters a few different ways: through slab building or wheel throwing. In this tutorial, we will make a slab-built wall planter. To begin, roll out a uniform slab of clay that is around 1/4 inch thick. You don’t want your slab any thinner or you’ll have thin walls, making your planter very fragile. It’s got to support the weight of your plant, after all. Use your rib to get out any big air bubbles or compressed air trapped in your slab. Leaving these bubbles in your slab can cause weak points in your pieces.
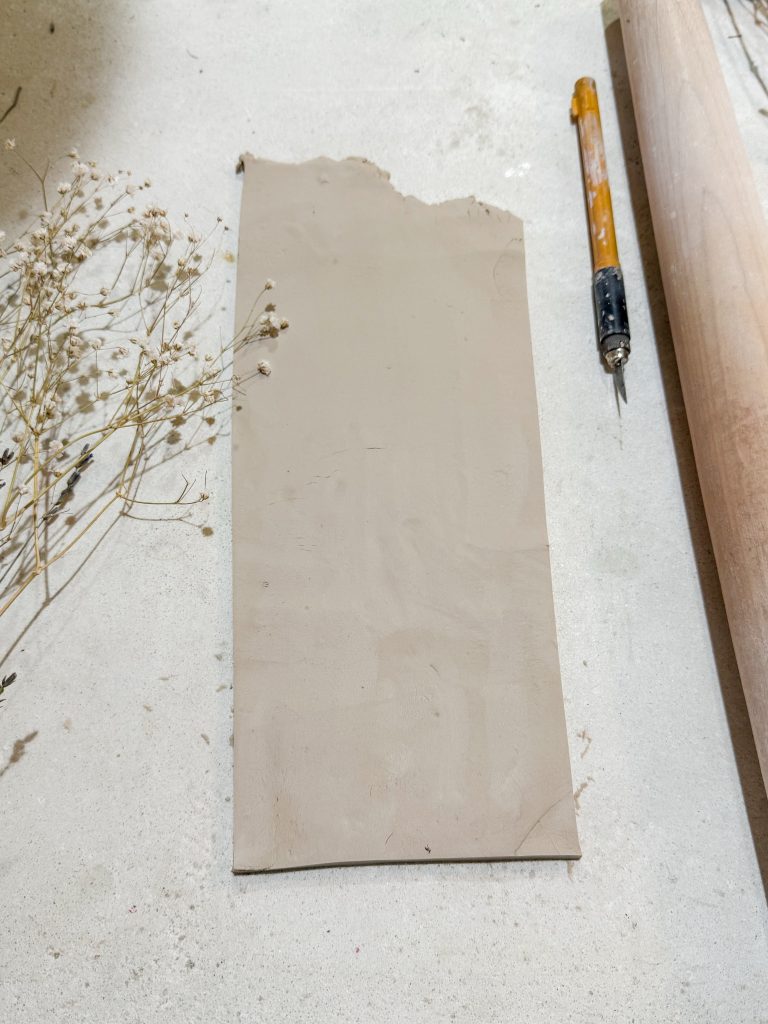
Cut out the back piece of your planter first. The back piece is the one that will hang against the wall. In the photo below, I am creating a rectangular wall planter with a cylindrical shape that will serve as the belly of the form. Measure out your front piece by holding it next to the back piece. Your front piece, the belly of the pot, should go about two thirds up the back piece. The top third of the pot will serve as the hanger for your wall planter. You will need to cut a bottom for your wall vase, but we will do that once the front and back are attached, making it easier to measure for the bottom piece.
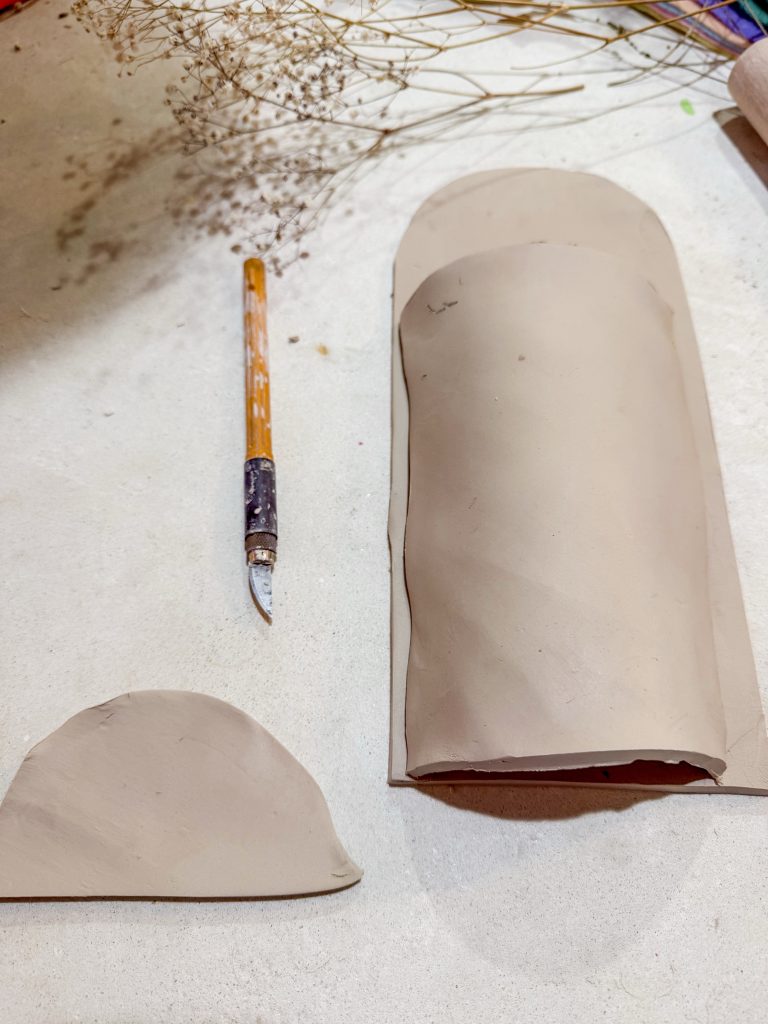
Now it is time to attach the front piece to the back of your wall planter. Score and slip all around the edges where your two pieces will meet. This helps to create strong bonds. Drape the front piece of your wall planter on top of the back piece, pressing firmly where you have scored and slipped. This will be where the walls join. To support your front piece while it dries, I like to stuff the empty space with paper towels. This ensures that the interior space of your vase doesn’t collapse. Using your paintbrush, sponge, or a damp finger to smooth out the edges and places where your pieces have been joined.
Now it is time to measure and cut the bottom piece. Taking a piece of your slab, hold it up to the bottom opening and eyeball how big it needs to be. Using your craft knife, cut out the bottom and attach it to the bottom opening of your vase using the same method described above. We will leave the top of the planter open.
You will need to use a sponge to smooth out the surface of every piece when you are finished to ensure that you have a clean edge on your planter. You can repeat these steps to make any shape! Here is a round pocket wall planter as well as a cone shape that will look like a bouquet of flowers when hung! The cone shape is a super easy design because you literally just roll it up into a cone, score and slip at attachment points, and press it closed!
If y u are interested in wheel throwing your wall planter, you will have to make a few changes. Throw your round vessel just like you would a mug, bowl, or vase . Using your wire tool, cut your piece off the bat and allow to dry until leather soft. Cut your piece in half vertically using the wire tool. Take a slab that is equally wet (leather soft) and cut out a flat back piece for your planter. Score, slip, and attach. Smooth any imperfections. Allow to dry very slowly.
Finishing Your Ceramic Wall Planter
After they have completely dried out (over at least 1-2 weeks), fire your planters according to your clay body specifications. You can fire the raw clay body with no glaze at all if you’d like to leave it natural, or use paints to decorate the surface. You can also glaze your piece in between the bisque fire and final firing. The choice is up to you!
Ceramic wall planters are a fun, yet functional way to decorate your walls this spring. I hope that you had fun making these along with me! May they bring some life to your walls and a smile to your face. Remember, our work doesn’t have to be perfect to be enjoyed. Enjoy the process of making and see what you get. I can’t wait to see how these look when my collaboration is finished! Be sure to follow along and subscribe to see the finished product! For other ceramic tutorials, click HERE.


