How to Make a DIY Valentine’s Day Heart Bunting
This post contains affiliate links, which means I make a small commission at no extra cost to you. See my full disclosure here.
I’ve never been one who just loves Valentine’s Day, but lately I find myself wanting to make every holiday in our home as magical as possible for my little one. After all, we only get so many years with them when they are small children. Around here, we do a little Valentine’s Day goodie basket and eat a sweet treat (that’s usually heart shaped). I thought things could be a little more exciting if I added a few DIY Valentine’s decorations around the house.
First up is a felt heart bunting! Conversation hearts are great fun, so I’ll be making our Valentine garland with different colors of pastel felt and fun sayings to pay homage to the iconic candy. Follow along with this easy step-by-step craft tutorial to make your very own Valentine bunting!
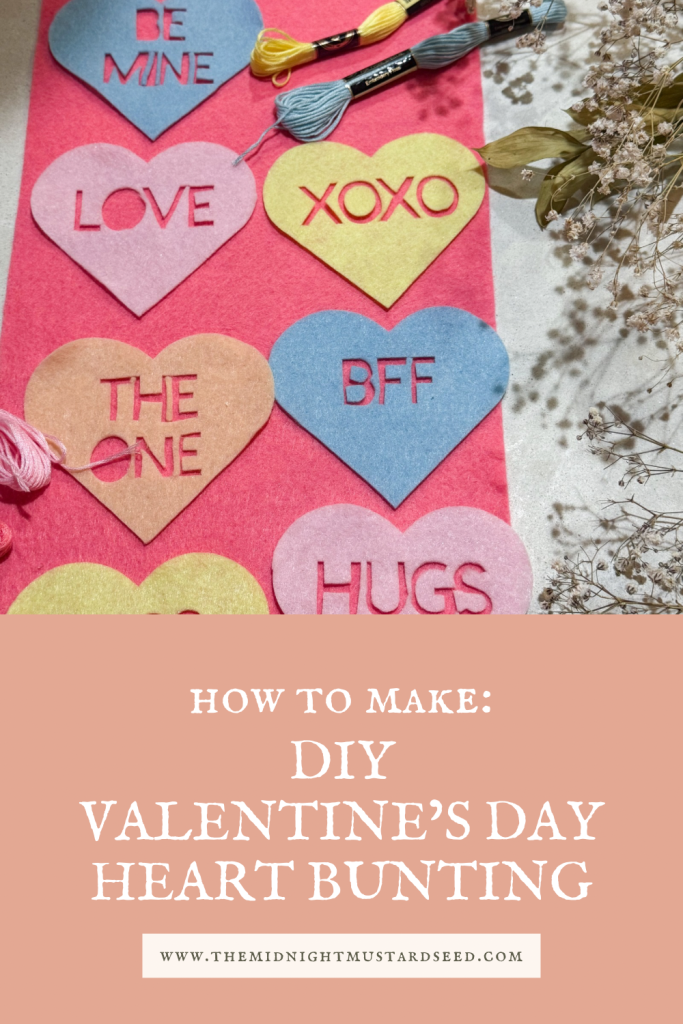
This fun banner can be done with very little prep work and supplies. There are many ways to customize or simplify your garland, and you can always use the same steps to make ones for different holidays. I plan to make a gingerbread bunting using this same method for next Christmas.
Materials:
–festive ribbon or rope
-embroidery thread OR
-sewing machine and thread OR
– acrylic paint and paintbrush OR
-red fabric marker
-optional Cricut machine and rotary blade
The first thing we are going to do is cut out our heart shapes. This is also a great project to make with your Cricut machine if you have one! You can buy precut felt hearts from your local craft store to make things a little easier, or you can find a free pattern on Cricut design space. I’ll be cutting my heart shapes out using my Cricut Maker and the rotary blade. A regular cutting blade will work as well. Using a Cricut? Load your felt onto the cutting mat and fit as many heart shapes onto your canvas in design space to maximize your use of materials.
You can also make your own pattern by cutting out paper heart shapes in your desired size and tracing them on your felt sheets. You will need to have at least 10 heart shapes total cut out to make a banner that is a decent length. You may want to use more if you are using smaller hearts. If you are using your Cricut, you can skip the next step entirely by cutting the messages out of your heart shape. Back your heart with a message free heart in another color to give it that conversation heart look.
The next thing we are going to do is decorate our hearts. Taking either the red acrylic paint or the fabric marker, write your conversation heart messages on each of your heart shapes. Once the paint has dried, grab your embroidery thread and needle. Trim out each heart shape with your embroidery floss using a basic whip stitch. This step isn’t entirely necessary, but I think it is these little touches that give handmade things that heirloom feel. As silly as it is, these little details will keep me excited to bring out my handmade decorations year after year. You can embroider your hearts using matching thread or choose a contrasting color like I’ve done here. You can even embroider your conversation heart messages onto your felt if you’d like to make that extra effort. I will be cutting my messages with my Cricut, but I plan to go back over them with embroidery floss at a later date. You only get so much crafting time with a very busy toddler running around, ya know?
Once our hearts are decorated and embroidered, it’s time to attach them to our ribbon. This step can be as complicated or as simple as you’d like it to be. You can hand sew each heart in place along the ribbon. There is also the option to bust out the old sewing machine and attach the hearts that way. I will be hand sewing my hearts into place. If you detest sewing all together, there is always the quick and easy way to do it using a hot glue gun and glue sticks.
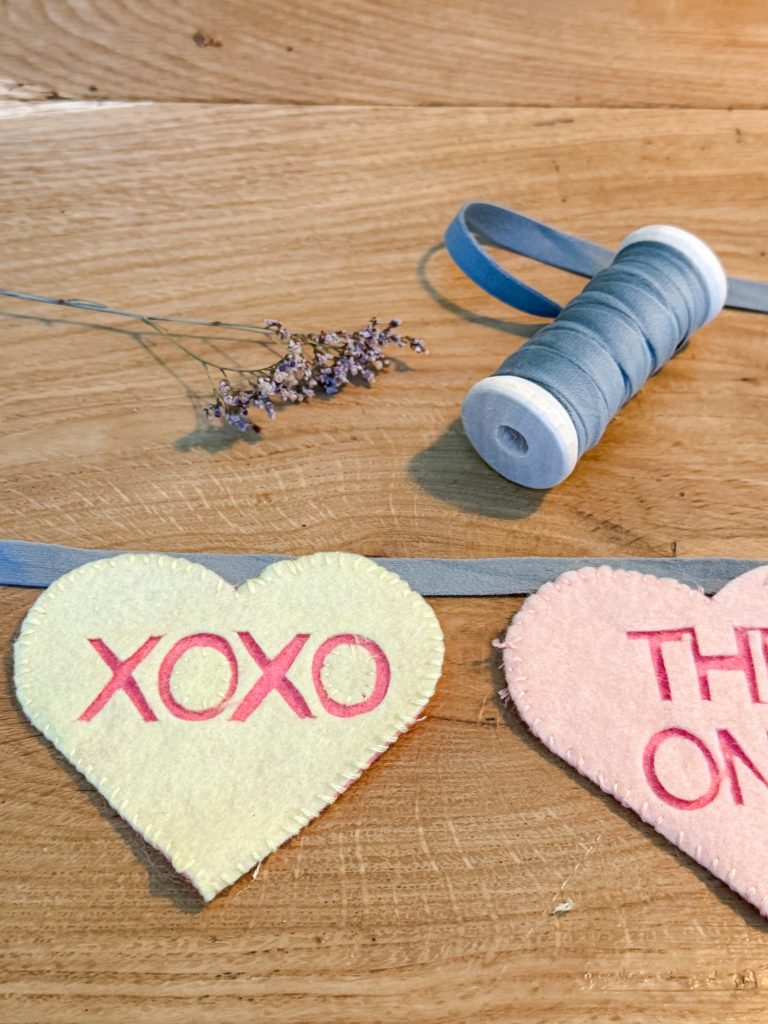
Space your conversation hearts evenly as you attach them. I went with larger hearts in one size, spaced evenly. You can always mix and match different sizes of heart shapes if you want a little bit of variation on your bunting. When all of your banner pieces have been securely attached, your Valentine’s Day garland is ready to hang!
It really doesn’t take much to add that special personal touch in your home. Something as simple as this little project can bring a smile or make a holiday seem a little more festive. I hope you had a lot of fun making your Valentine’s garland and that it brightens this season in your home. Happy Valentine’s Day!