
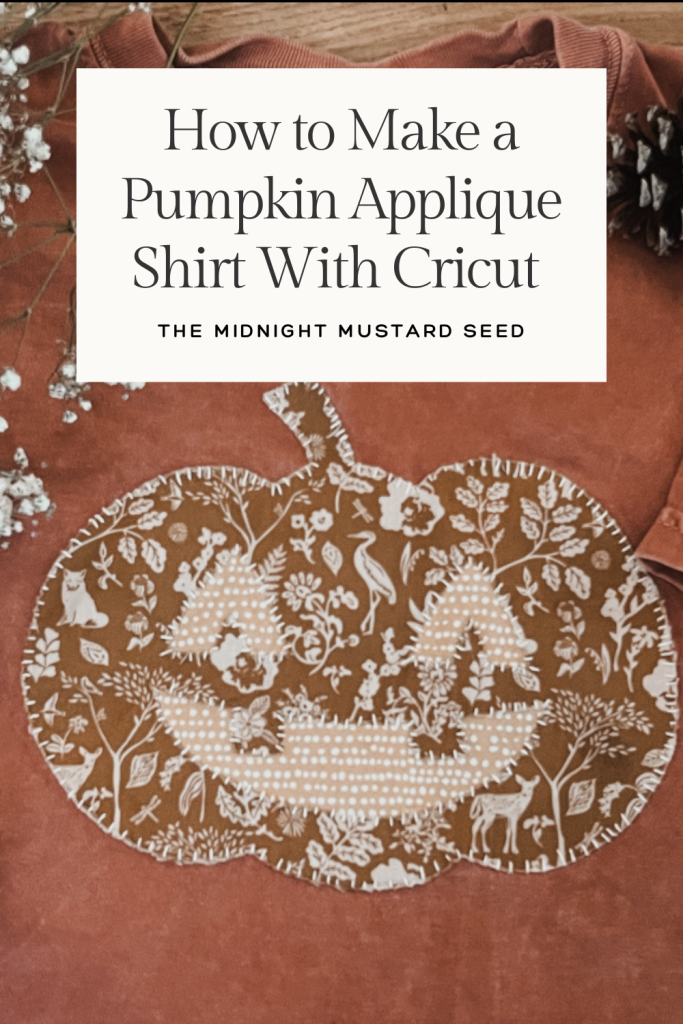
How to Make a Pumpkin Applique Shirt With Cricut
Quilted tees and appliquéd clothing seem to be all over Pinterest (my preferred social media platform) these days. I just love that handmade, cozy look of hand stitching and mixed scraps of fabric. Since fall is here, I thought I’d try my hand at a pumpkin appliqué to make a festive fall shirt of my own!
I was gifted a Cricut maker a few birthdays back, and am always looking for fun sewing projects to make using the cutting machine. Follow these simple steps to make your own pumpkin applique shirt or sweatshirt that is perfect for the pumpkin patch! If appliquéd clothing isn’t your thing, this tutorial can also be used to make home decor like a pumpkin pillow, throw pillow cover, or a simple potholder. Same applique pattern, different projects. Let’s get into it!

Here are the materials you will need.
Materials
- Two different fabric, pre washed(I love to mix patterns for projects like these)
- A blank t shirt, pre washed (I prefer comfort colors)
- Heat and bond or fusible webbing
- Quilting thread
- Quilting needles
- Sewing machine and thread (optional)
- Cricut maker or cutting machine
- Cricut fabric cutting mat
- Cricut rotary blade
- Access to cricut design space
- Scissors
The first thing we are going to do is back our fabrics with heat and bond. Turn on your iron or Cricut mini press, and grab your fabric scraps. Place your fabric pieces right side down and lay your heat and bond face down on it. The paper backing should be on top. Using your iron on a medium high heat, press the heat and bond to the back of your fabric scraps. Do not attach the two fabric scraps together.
Now that our fabric is prepped, it’s time to grab your Cricut maker and cut out the pumpkin shape. Take the piece of fabric that you would like to be the top layer of the pumpkin and lay it on your fabric cutting mat. Be sure that the pattern is right side up. Go to Cricut design space and select your pumpkin design. Cut it out as bonded cotton with a medium pressure to whatever size you’d like your pumpkin applique to be. I believe I cut mine to 8.5 x 6.5 inches. You can tailor this to fit your project needs.
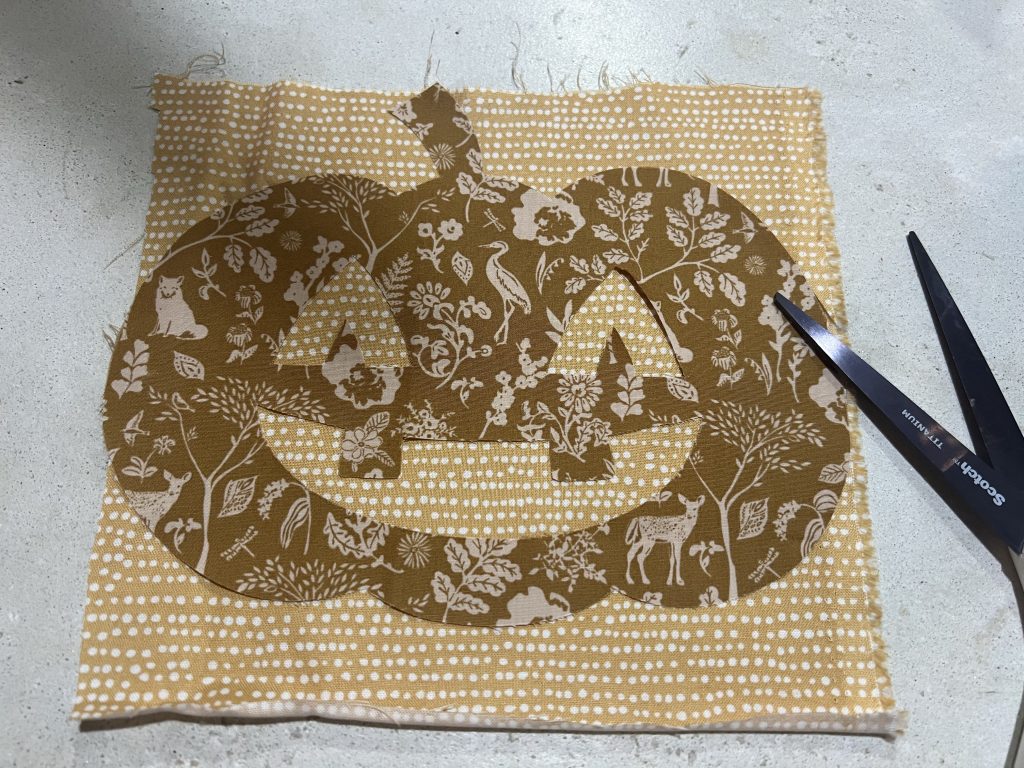
Once the pumpkin shape has been cut, iron your pumpkin piece onto your second piece of fabric. The second fabric will back your pumpkin and fill in the negative space with another pattern for a fun mixed media look. Once the pumpkin piece is bonded to the second fabric, cut out the backer fabric along the edges of your pumpkin shape. I just trimmed the excess with scissors.
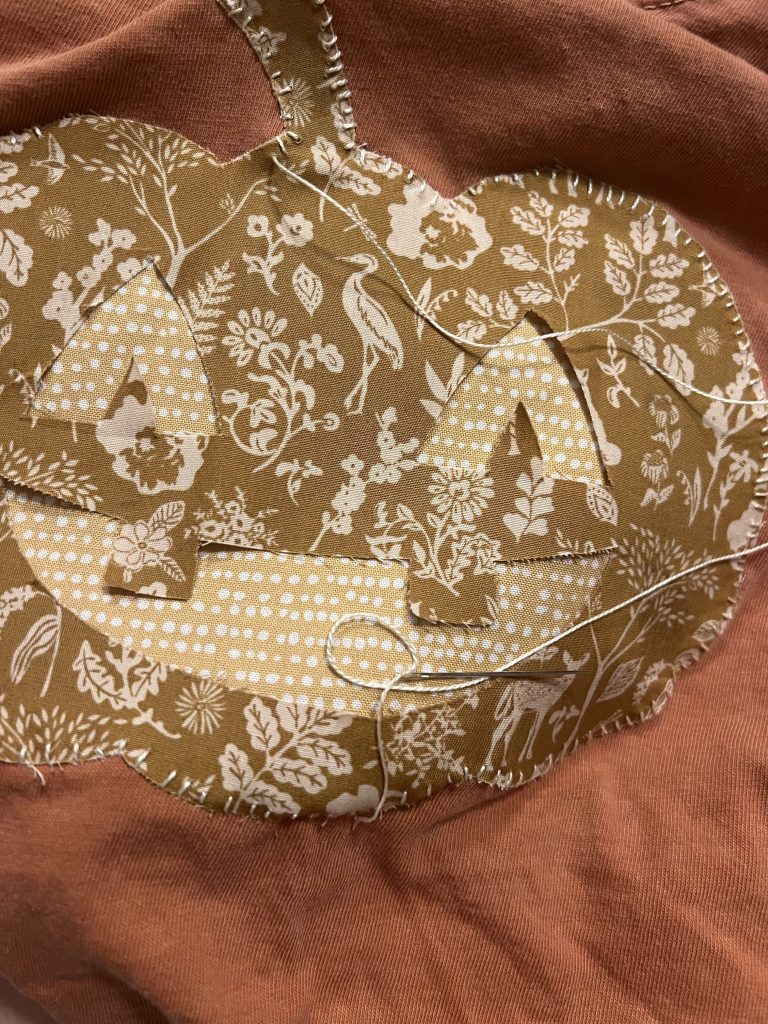
It is now time to attach your backed pumpkin to your shirt. Peel off the paper backing of your fabric and place your pumpkin wherever you’d like it to go. Iron the pumpkin onto your shirt. It’s now time to sew your applique! You can definitely use a sewing machine with a fun zigzag stitch to do this part, I just prefer hand appliqué’. Take your needle and quilting thread, and stitch along the edges of your pumpkin. Repeat along the insides of your eyes and mouth openings. This is done to secure everything to the shirt. Pieces that are only ironed on will not stay attached through many wash cycles so stitching is key to making a lasting piece.
I hope you enjoyed this easy Cricut applique project. For more on making appliques with your Cricut, you can read HERE. Happy sewing!


