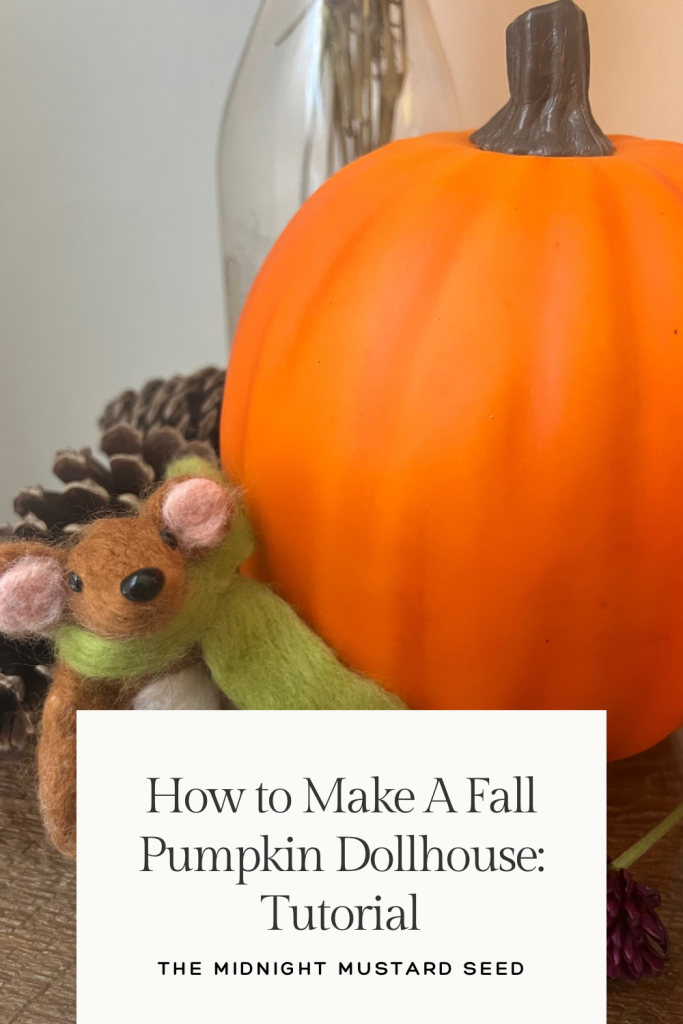
How to Make A Fall Pumpkin Dollhouse: Tutorial
Lately, I’ve been swapping between two projects for my little one: needle felting cute little MICE and refinishing a dollhouse or “mouse house” for them to go in. My toddler is very busy in nature and loves to craft or help me make things. I’ve been wracking my brain each week trying to come up with fun, festive fall crafts that we can do together.
I’ve come across a person or two carving a real pumpkin into a cute pumpkin fairy house, and thought, “Why not make pumpkin houses for our needle felted animals?!” I thought it would make the perfect addition to our cozy, fall decor as well!
I recently bought a few decorative pumpkins at my local craft store which inspired me to take a slightly different approach to making these little houses. Instead of using a real pumpkin, I wanted to use these carvable craft pumpkins so that my little one could enjoy playing with them every fall. If you’d like to make your own little pumpkin house, just follow these step-by-step instructions.
Here is a list of materials you will need to do this easy project.
Materials:
- X-acto knife
- Pencil or marker for sketching out your opening
- Plastic pumpkins or foam pumpkins (find these for cheap at hobby lobby)
- Hot glue gun or strong multipurpose dollhouse glue
- Glue sticks
- Pre-made dollhouse windows and doors (or craft them yourself using wood slices)
- Your preference of additional decor like fake moss, pinecones, paint, dried florals or leaves, etc.
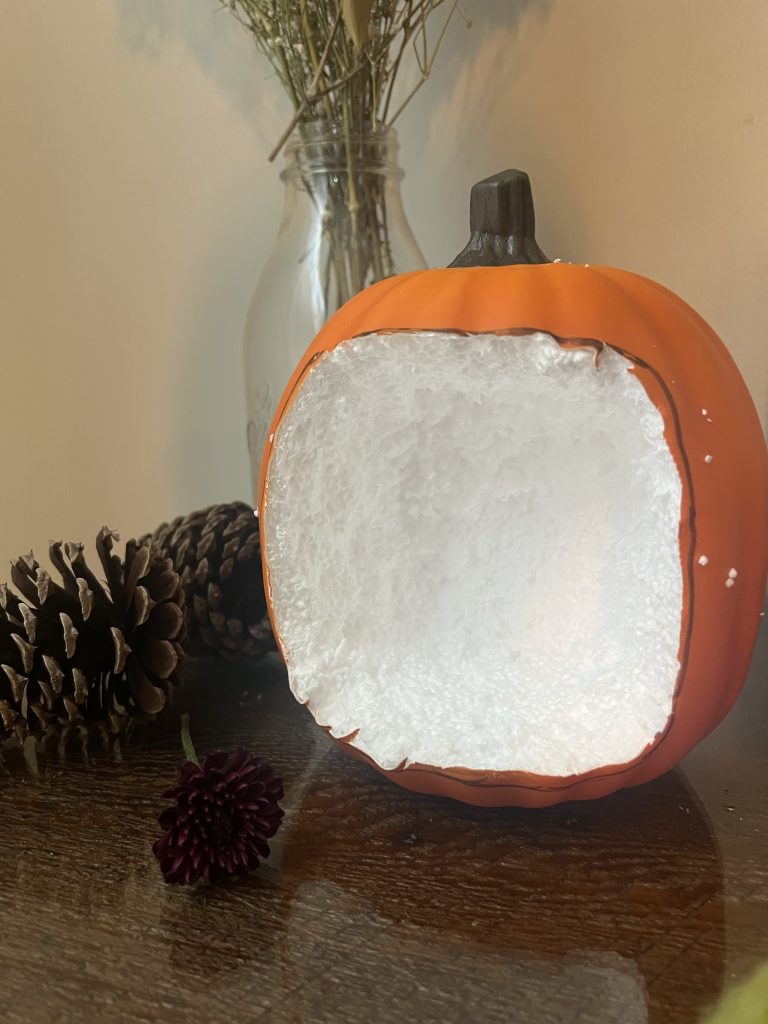
First, we are going to start by marking where we will cut our opening in the pumpkin that will essentially be the play space for the dolls. I like to follow the natural silhouette of the pumpkin, leaving some overhang on the top of the pumpkin and the bottom. Next, take your x-acto knife and cut along your markings. Using your x-acto, slice the inside of the pumpkin into chunks until you have hollowed or “scooped” out your opening. This step is for adults only and should not be done by little ones. Smooth out any roughness.
Next, you need to mark and cut where your door and windows will go. Be sure not to cut the openings too large. You want to be able to hot glue and push your windows snuggly in place. You can hot glue your door in place just like the windows or get a fancy premade door that really opens. If you opt for an opening door, you’ll just glue the doorframe in place.
Once the windows and doors are in place, it is time to decorate or finish it with your creative touches. I added some pinecone scales for cottagey shingles and some fake moss for flooring. You can paint the walls or leave them natural- the options just like with a regular dollhouse, are endless! Add some little window boxes with dried fall flowers or customize with some woodsy furniture. You can also let your little one take the reins creatively. Let them paint the pumpkins or decorate them by gluing on fall leaves they find. If you are doing this with your kids, you are more so making a memory than a fancy dollhouse. It doesn’t have to be perfect. Just have fun and enjoy creating!
Whether you decide to create a fairy house pumpkin or a little mouse cottage like us, this is such a fun and easy fall project that will delight both little ones and adults. I know we will enjoy our little pumpkin house for years to come and hope you do too!