
How to Make Clay Mushrooms with Pottery or Polymer Clay
This post contains affiliate links, which means I make a small commission at no extra cost to you. I am an Amazon associate as well. See my full disclosure here.
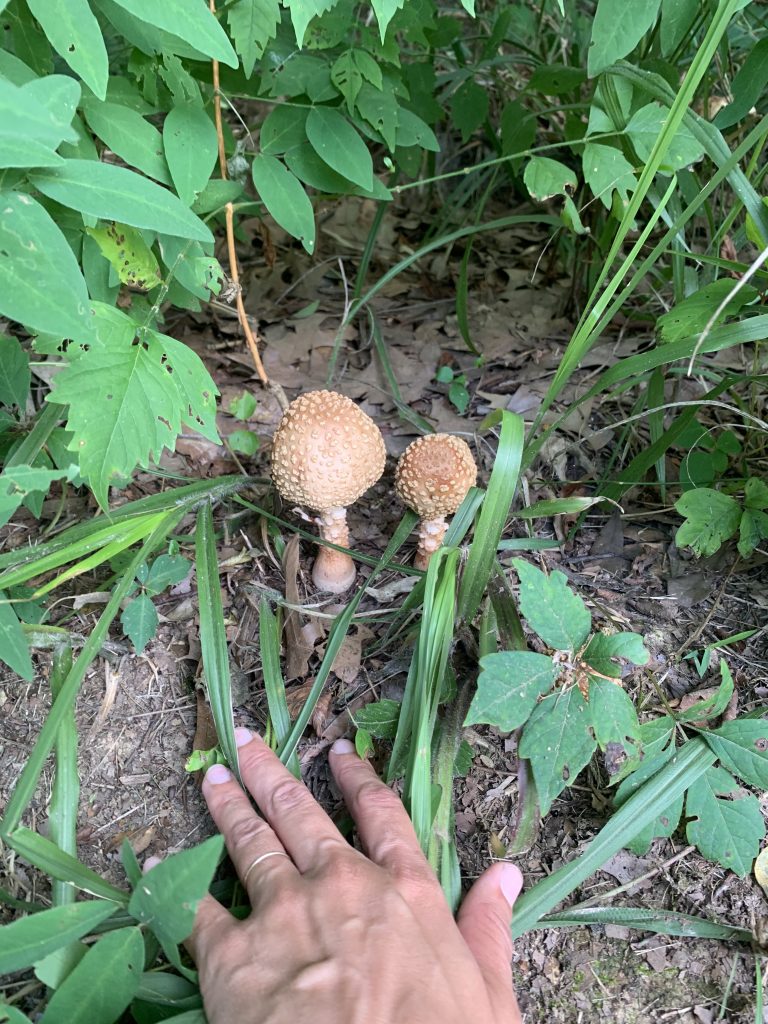
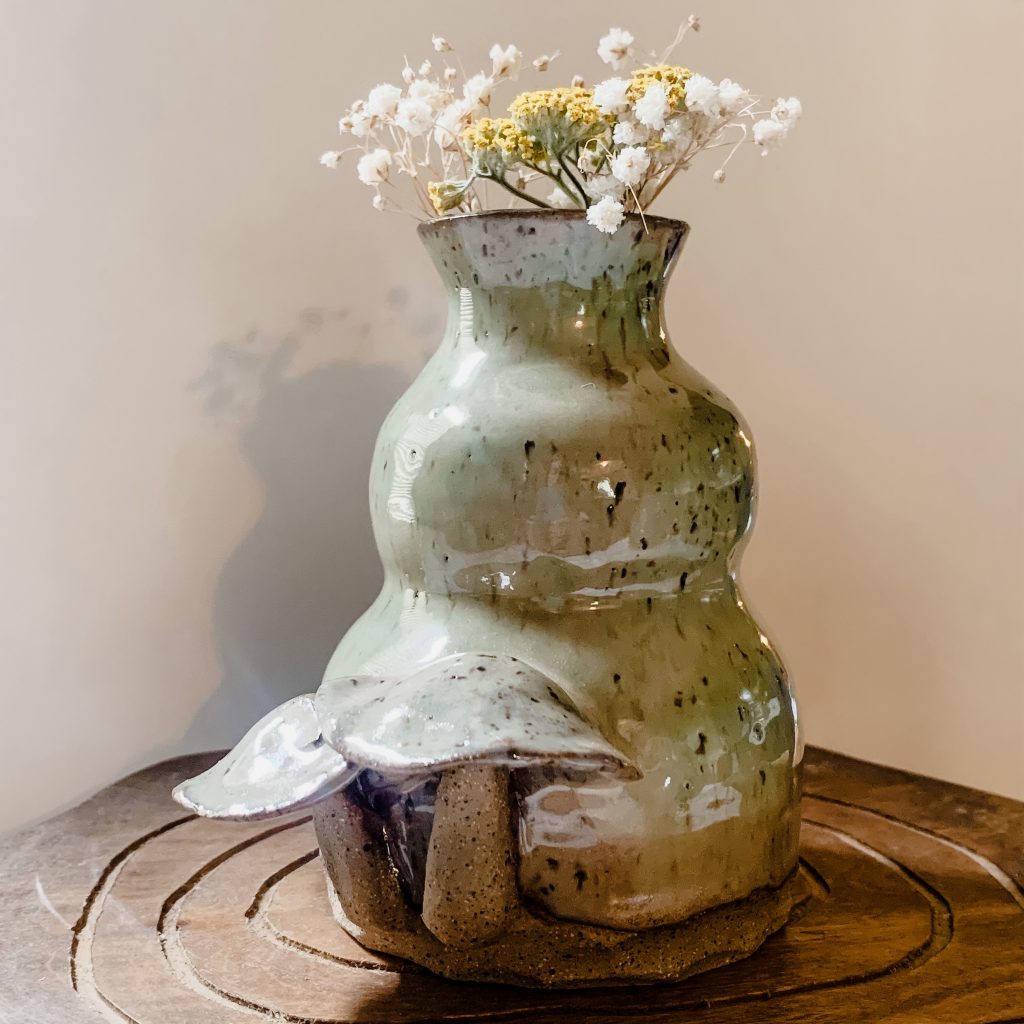
Every time my husband and I walk the dog (and the baby) through the woods, we always have to stop to look for mushrooms. Jake is very nerdy when it comes to these fungi, but I don’t blame him. There is something kind of mystical and a bit magical about mushrooms. Needless to say, they have inspired me. I’ve included them in both my pottery and paintings. You can shop those HERE. I thought it would be fun to show you how you can make your own clay mushrooms.
Ceramic or polymer clay mushrooms are one of the easiest clay projects you can make so they are a great way to try your hand at clay sculpture! They are so fun, quirky, and the perfect addition to fairy gardens or a favorite potted plant. By the end of this post, you should have created your very own clay mushrooms!
Materials
This tutorial will work for both pottery clay and polymer clay with a few slight differences I will explain later. I will be using pottery clay for my demonstration since the finished product is a bit sturdier and just what I prefer. If you are working with pottery clay, you will need a ball of clay ( I prefer stoneware), a bit of water, a paintbrush, access to a kiln, and either glaze or acrylic paints (your choice). For polymer clay, you will need your choice of a few different colors of polymer clay, an old cookie sheet, and access to an oven. For polymer clay, try red, white, and tan clay.
How to Make a Clay Mushroom
Before we begin, I’d like to encourage you to get as creative with this fun project as you’d like. You can create a more cartoony mushroom for a different look or create a sculpture that looks like a real mushroom. The outcome and artistic direction is completely up to you!
Let’s get started by making the stems of the mushrooms . Take your ball of clay, divide it into a few segments, and roll them into a few long cylindrical shapes. If you are working with pottery clay, reserve enough clay to make the mushroom caps. If you are using polymer clay, use your white or tan clay to create the mushroom stalks. Save the red clay for the red caps.
We know from looking at mushrooms in nature that no two are exactly alike. Stems may be tall and skinny or short and squatty. Think of the stem as part of the mushroom’s personality. You choose how that should look. If you are trying to make a very realistic mushroom sculpture, I recommend finding a good reference image or real mushroom to study as you sculpt. Mold your stem into the desired shape and smooth imperfections with a little water on a finger or paint brush.
Now let’s sculpt the mushroom cap. The mushroom cap shape depends on the species of mushroom that you are sculpting. The classic red mushroom with tiny white dots usually has a bell shaped cap. Some mushrooms are almost a flat circle while others look like a little umbrella. I will sculpt a few different kinds below that you can try out! It you are using polymer clay, you Will be using your red clay to create your caps. If you are working with pottery clay, your mushroom will be all one color until the painting or glazing stage.
Now we are going to join the mushroom cap and mushroom stem. With polymer clay, use gentle force and simply push the cap and stem together. Be careful not to distort your shapes. With pottery clay, score and slip the attachment point between the stem and cap. Scoring and slipping is basically scoring or scratching where the two pieces will be joined and using wet clay as glue to bind them.
Decorating your Mushroom
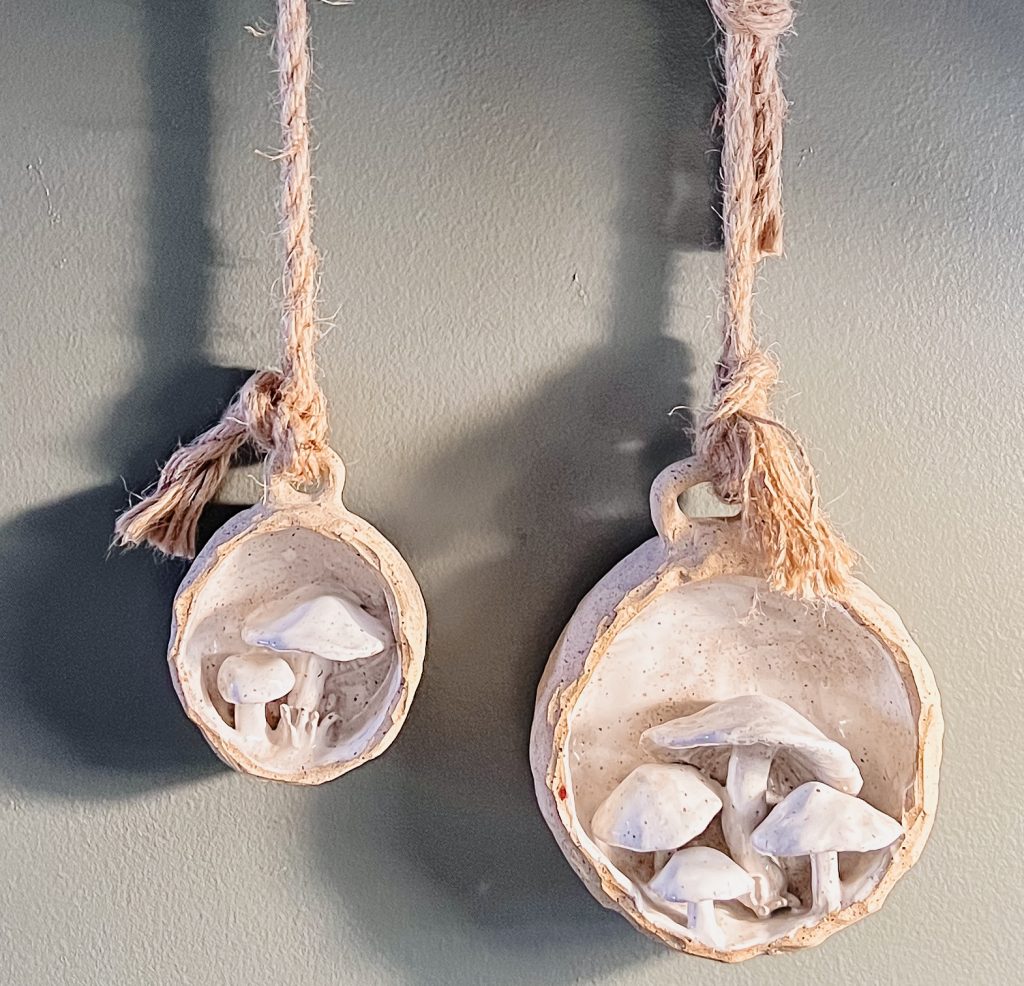
It’s time to add the details. For polymer clay, roll out tiny white dots of clay and press them on top of the mushroom cap for that classic red mushroom look. You can do the same with pottery clay and paint or glaze the dots later on. You can also add mushroom gills on the underside of the mushroom cap using an x-acto knife or even a toothpick. Place your polymer clay on an old cookie sheet and follow baking instructions on your polymer clay packaging. Note: once a cookie sheet is used for clay, it is not to be used for food anymore. For ceramic clay, wait until your mushroom is completely dry and bisque fire in your kiln at the temperature your clay dictates (example cone 04). Glaze your mushroom cap in your ceramic glaze of choice and refire at the specified glaze temperature. If you don’t want to glaze your mushroom, you can always refire it without glazing, and paint it with acrylic paints.
There you have it! A magical clay mushroom of your very own! I hope you have had a great time making mushroom clay sculptures and that they add a touch of whimsy to your space!
Blessings,
Samm


