How to Make a DIY Valentine Sweatshirt with Cricut
This post contains affiliate links, which means I make a small commission at no extra cost to you. See my full disclosure here.
It’s the season of love and crafting is in the air! As I’ve said before, I’m not big on celebrating Valentine’s Day, but when you have your own little loves running around, things change. Now I’m singing a different tune and tying to make Valentine’s Day as fun as possible in our home. I recently made a simple heart bunting that can add a fun feel to any room as well as some conversation heart earrings. I wanted to make one more Valentine’s project. It wouldn’t be a holiday without something fun to wear, so I think it’s the perfect time to make a few DIY Valentine’s Day shirts!

I love a fabric appliqué because it really gives a project that handmade personal touch and an heirloom feel. I’ve made applique sweatshirts for every other holiday season like Halloween and Christmas, so it’s only natural that I make one for Valentine’s Day too. For my other applique tutorials, click HERE. This is a great way to make a cute shirt for your little girl to wear to a preschool party or even for yourself! It is also a super easy project to make with your Cricut machine! I’ll be using my Cricut Maker but the Cricut Explore Air will work as well. Just grab your cutting machine and the materials below, and we are ready to get started!

Materials:
–Cricut Maker or Cricut Explore Air
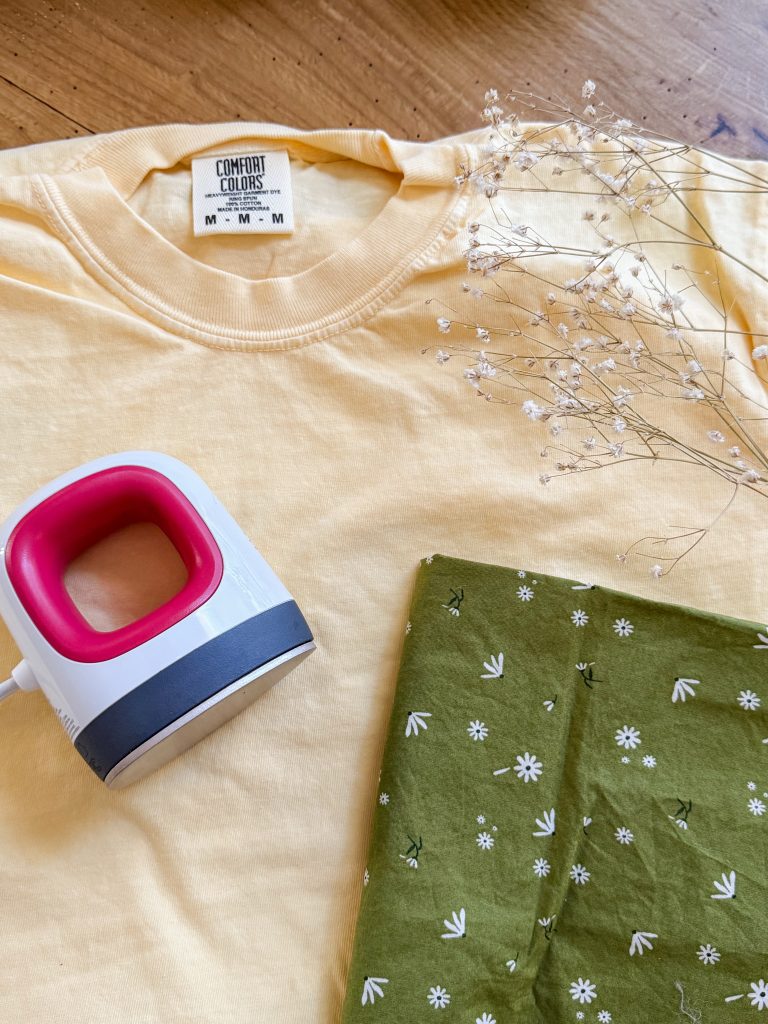
-blank t shirt or sweatshirt (I like Comfort Colors)
-Fabric Scraps
-Cricut fabric cutting mat
–Cricut Easy Press or an iron
-embroidery thread
-sewing machine of embroidery machine (optional)
-access to Cricut Design Space
Preparing the Fabric
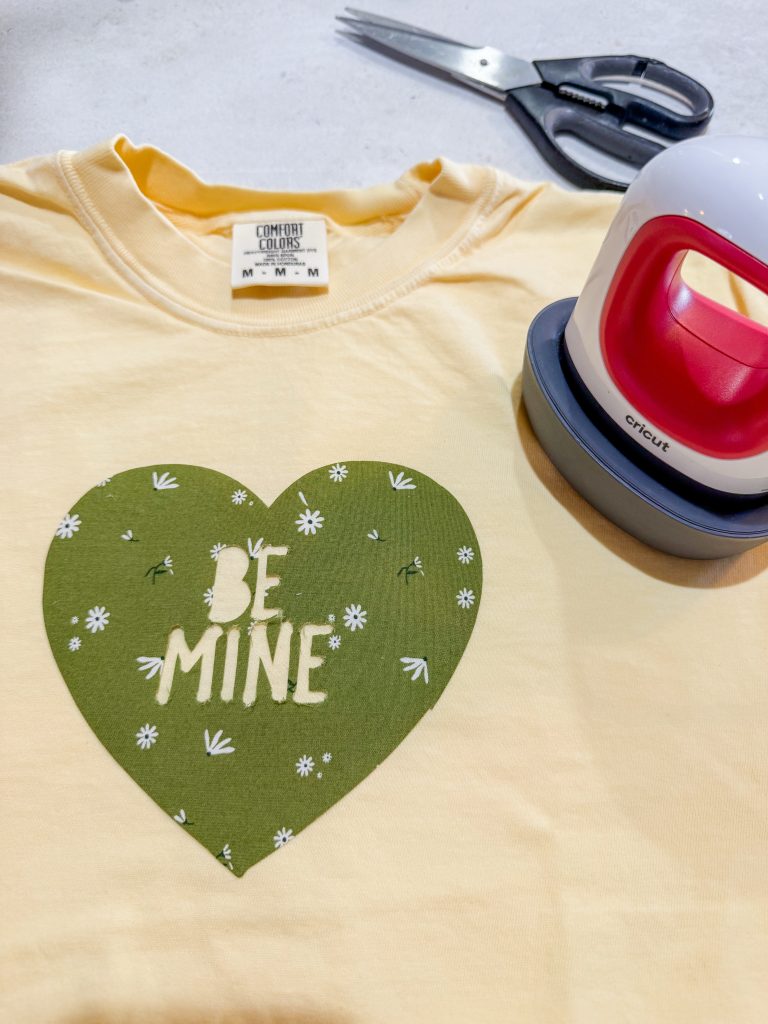
To get started, grab your favorite fabric scrap or fat quarter. Quilting cottons work best for these types of projects. If you want your shirt to more closely resemble a conversation heart, I would opt for fabrics in pastel pink, yellow, lavender, green, orange or white. Those are the traditional colors for the candy hearts. My shirt is butter yellow from Comfort Colors. I chose a springy green daisy fabric for mine.
Prewash your fabric and your shirt or sweatshirt. Now it’s time to turn the fabric into an iron-on fabric. Place your fabric right side down. Lay the Heat and Bond shiny side down on your fabric. Using your Cricut Easy Press Mini or just a plain old household iron, iron the Heat and Bond onto the fabric. I think a medium-high heat works best to adhere everything together. Once your fabric has been bonded to the Heat and Bond, it is ready to cut.
Cutting the Appliqué
Take a clean fabric cutting mat for the Cricut, and place your fabric on it. Be sure it align the edges with the grid printed on the map. Press the fabric down firmly and get rid of any bubbles. You may want to tape down any fly away edges to ensure that the fabric doesn’t move while it is being cut.
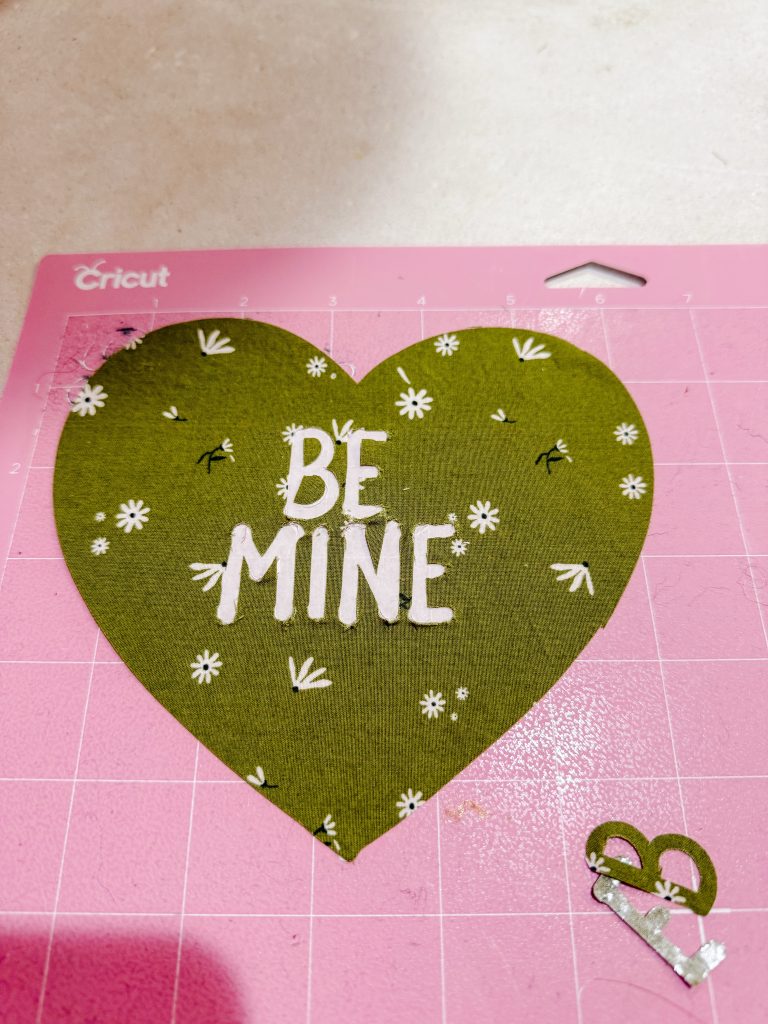
Next, you will need to choose your heart template. Below is a screenshot of the SVG file I chose from Cricut Design space. You can always make your own SVG file as well if you don’t like the selection on Design Space. Size your heart to the desired size for your project. I made a heart that is around 6×7 inches. Make sure that your image setting is changed to the cut action and select “make it”.
When you go to the “make it” screen, you will need to choose the fabric type as well as what tool you will be using. I have found that I get the best results for cutting fabric appliqués when I choose the “cotton bonded” fabric option. I also think the cleanest cuts come from using the rotary tool, but I believe that the default cutting tool will also work for fabrics. It just may not be as crisp. Load your mat into the Cricut and press the “go” button. Watch your cutting machine get to work! My toddler loves to watch it go, but then again, he’s into anything tool related these days. Unload your mat from the machine and peel the appliqué off of the mat.
Attaching the Appliqué
Once you are satisfied with your appliqué, it is time to attach it to your shirt. Peel the paper backing off of the appliqué. Place the appliqué in the desired location on your shirt or sweatshirt.Using your Easy Press Mini or iron, press the appliqué onto the shirt. I love using Heat and Bond because it keeps the appliqué in place while it is embroidered on. You could always stop the project after ironing on the appliqué, but I always recommend sewing or embroidering it on for the best, long-lasting results.
Sewing/ Embroidering the Appliqué
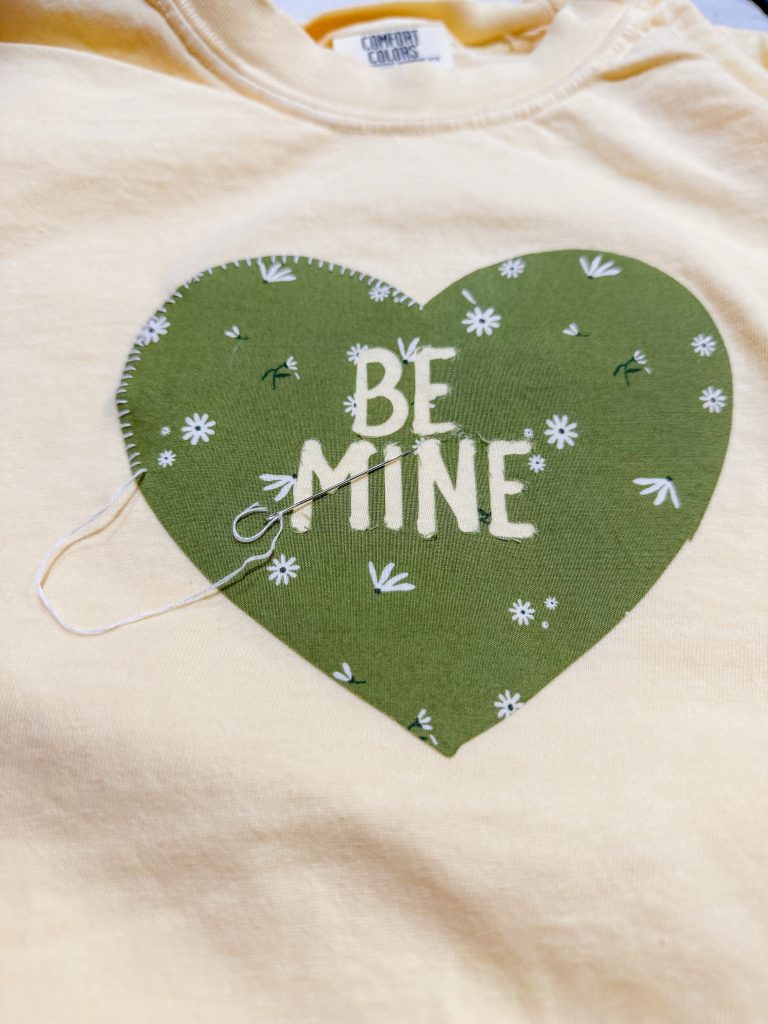
The final step is sewing/ embroidering on our appliqués. You can use a sewing machine,embroidery machine, or do it by hand. I tend to fight with my sewing machine, so I almost always prefer to hand embroider my appliqués on. Maybe one day I will save enough pennies for a fancy embroidery machine, but until then, it’s all hand stitching over here. It is also somewhat soothing to just mindlessly sit and do whip stitch after whip stitch, but to each their own! Once you have finished sewing your appliqué on, your cute Valentine’s Day shirt is ready to wear!
Making a Cricut iron-on is so much fun. It’s quick, easy, and a great way to make something lovely for Valentines Day. From a shirt to wear to a preschool party to a Valentine’s pillows or tote bags, this project is very universal and can be added to anything! I hope you enjoyed making your own conversation heart appliqué shirt! For more Cricut tutorials, click HERE.