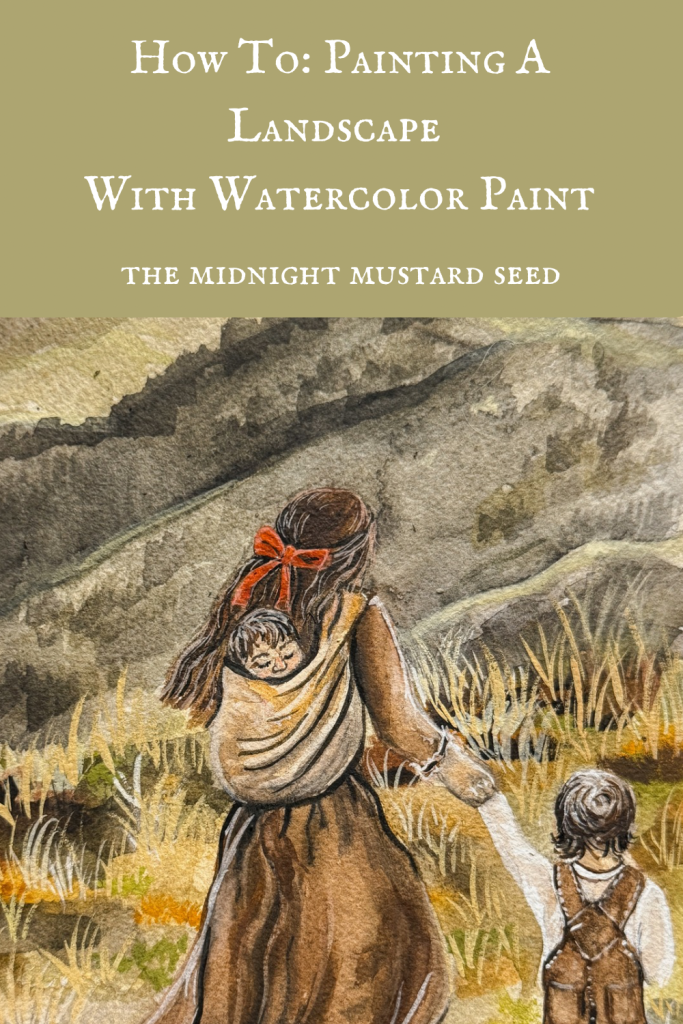
How To: Painting A Landscape With Watercolor Paint
This post contains affiliate links, which means I make a small commission at no extra cost to you. See my full disclosure here.
Watercolor paint is such a wonderful medium. While watercolor paint has never been my primary paint, I have found myself gravitating towards it lately. I love Golden Acrylic paints as well as oil paints, but they require me to dive a little deeper into my art which can be tricky at this life stage of early motherhood. If you’d like to learn all about acrylic painting, you can find tutorials and supply lists HERE.
Watercolors are easy to pick up in your free moments and you can just as easily stop if something arises which is perfect for the busy season of motherhood that I am currently in. There are also no harsh odors and it is easy clean up as well, which are major bonuses in my eyes. Whether you are a newbie to watercolor painting, a seasoned watercolor artist, or a busy mom that wants to dip her toes into something creative but casual, watercolor painting is definitely worth a try!

One of my favorite subjects to paint, especially when it comes to watercolors, is a landscape scene. Watercolor landscape paintings are great beginner painting projects because they can be as simple or as detailed as you want to get. You can achieve a dreamy, hazy landscape that gives you a feeling of distance or go detail crazy with an up-close landscape full of meticulous vegetation. If you want to learn how to paint your own watercolor scene, you will need to follow just a few simple steps. Follow along with this step-by-step tutorial to paint your own watercolor masterpiece!
Before we get started, we will need to grab a few basic supplies. The supply list is very close to the gouache painting supply list that you can get HERE. All you need to do is substitute your gouache paints for watercolor paints. I have included a more basic list of supplies below as well! I always recommend having a few great watercolor paint brushes in different sizes. I love a good mop brush, angle shader, and tiny brushes for getting those little details in. Grab a nice set of watercolors. All paint is not created equally- the artist quality sets like Windsor Newton have a higher quality pigment that makes all the difference in the world. It is definitely worth the splurge. You can get watercolors in tubes or in pan sets which are great if you are looking to do any plein air painting or like to paint when you travel. I like to have a tube of white gouache in my arsenal as well for adding those highlights that can’t be obtained with watercolor alone. Get a good quality watercolor paper as well. It will hold more water and allow you to get more layers in your paintings. All of my favorite watercolor supplies are linked below for you!
Materials:
To get started painting beautiful landscapes with watercolors, you will only need a few art supplies!
-white pencil
–watercolor paper (I like Arches cold pressed paper).
-reference photo
–Watercolor pan set (I like Winsdor Newton) OR
–Individual tubes of watercolor paint in the following tones: burnt umber, burnt sienna, yellow ochre, cadmium red, cadmium yellow, titanium white, mars black, Phthalo green, sap green, ultramarine blue.
–smaller brushes for painting details
-clean water
Sketch Your Design
The first thing we need to do is sketch our design. I always recommend having some sort of reference photo to help you hone your skills, but you can also paint from your mind’s eye if you choose. You can use a plain ole number two pencil, a watercolor pencil, or even a colored pencil depending on the look you want. If you want pencil lines that disappear, I would opt for a number two pencil used very lightly or a watercolor pencil that matches the color scheme that you intend to have in your painting. If your pencil lines are too heavy or you use an obscure color, you may still see your marks through your paint. This is okay if you are alright with that in your finished piece. Sketch out your horizon line, big trees (if you want them), sky area, or any other features you choose.
I like to sketch only the main parts of my design and leave any fine lines to my detail brush in the final stages of painting. For example, if I’m painting a forest landscape with a group of trees, I will draw where the tree trunks are but I won’t draw any little branches or leaves. I will save that for my detail painting. That is a personal preference, but it works for me. While I am giving you a step by step, don’t be afraid to try things on your own. After all, art is not quite an exact process.
First Layer (First Wash)
Once you have your landscape all drawn out, it is time to lay down the first wash of color. When mixing your colors, keep in mind that most things are not the color of paint straight out of the tube. For example, if you are mixing blue from the sky, it isn’t;t just straight blue paint. Maybe there is a hint of yellow mixed in if it’s sunny. Perhaps add a little purple or gray into a cloudy sky. For red fall leaves, mix red, a little burnt sienna or burnt umber. If you are going for realistic landscape colors, pay close attention to all of the colors you see in the elements of your painting. Using a reference photo like I mentioned above can really help you train your eye to see all of the various hues and colors to translate onto your painting. I would love to write another tutorial for you guys soon that covers the basics of color mixing.
Mixing your colors using the methods I mentioned above, mix up paint for your sky, trees, grasses, and grounds. Begin to block out the major shapes and forms in your landscape. For the first washes of color, I like to use a wet-in-wet technique that helps the first layer really blend together. Using your large mop brush and your clean water only, do a wash of water to dampen your paper. Next, take your brush and dip it in your wet paint. Wash the wet brush over the wet paper using the appropriate paint in the right areas (blues for sky, light green for grass, etc). Use your wet brush to wash over or blend together any areas that you’d like. Allow this layer to dry completely before moving on.
Second Layers
For the second wash, we are going to start deepening and defining our landscape. It is time to start defining those major shapes and forms in your landscape.Sharpen any edges, darken any forms, and crisp up shapes such as mountains, tree trunks, or any additional subject matter. Mix colors for your shadow values. These may be dark greens, browns, grays or even blacks depending on where your shadows are. Using your wet paint brush loaded with watercolor, paint the shadow areas onto your paper. Add shadows under trees, by large rocks on the ground, or add shadows from mountains towering in the distance.
To give a highlighted look leave your paper unsaturated where you’d like light to reflect. We will add to these true highlights a little bit later. Add additional washes of color for the leaves of tree canopies or the various blues and greens in bodies of water. Allow this layer to dry. You can repeat this process, adding basic, undefined washes of color as many times as you desire. Once you are satisfied with the basic color washes on your painting, you are ready to begin adding details.
Fine Details
Finally, it is time to add fine details. It may take you several lavers of details to get your painting just how you’d like it to look. Use your fine detail brush to paint any defining lines such as tree branches, leaves, rocks, grasses, flowers, etc. You can repeat this step several different times with middle tones, highlight tones, or darker colors. Take your white gouache paint and add any bright highlights or reflections as your last step. It may take some tweaking, but you should now have a watercolor landscape! You can use these basic steps for any landscape scene you can think of. Just keep practicing and you may just paint something you really love!
Thank you so much for following along with me as we discussed the basics of watercolor landscapes. If you would like to learn more about watercolor painting or find inspiration for your next art projects from clay to felting, you can find all of that HERE.


