How to Make DIY Conversation Heart Earrings With Clay
This post contains affiliate links, which means I make a small commission at no extra cost to you. See my full disclosure here.
Valentine’s Day is coming up, and I thought it would be the perfect time to craft something festive! I’ve never been big into Valentine’s Day, but once you have kids, pretty much every holiday is a million times more fun! So here I am, excited for ole Saint Valentine. I wanted to create something to wear that would get my little one excited about the occasion so I decided to make some fun earrings that look conversation hearts!
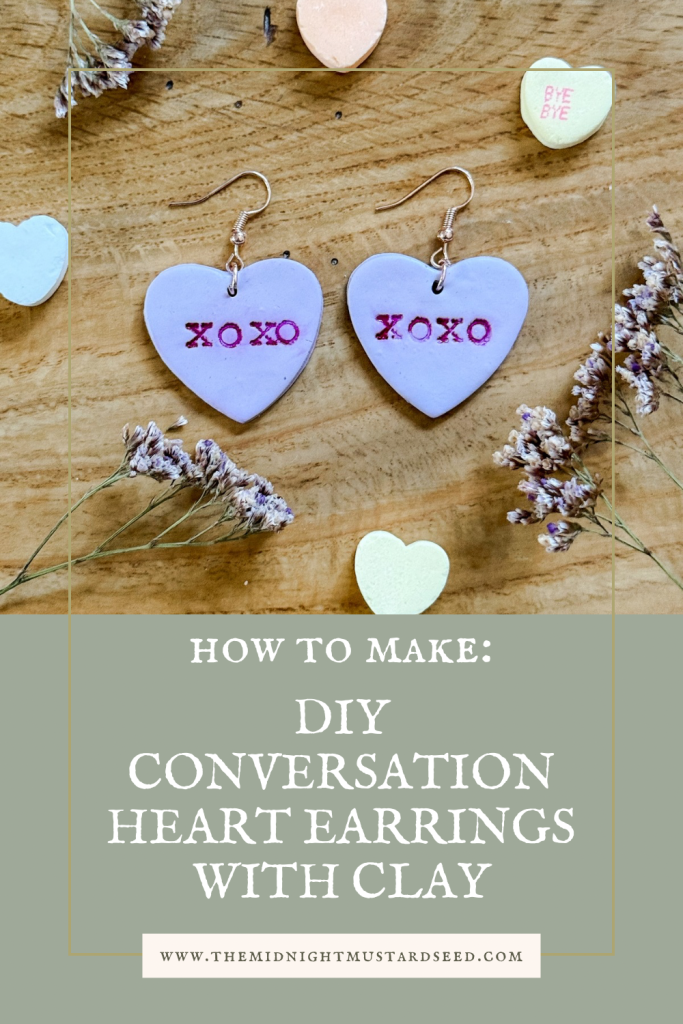
After all, what is more representative of Valentine’s Day than those cute little candy hearts with lovey messages on them? The easiest way to craft these earrings, in my opinion, is by sculpting them with polymer clay! Follow along with this super simple clay tutorial and you’ll have a pair of really cute earrings perfect for the day of love!
Materials:
–Sculpey Premo or other oven bake clay
–earring posts for stud earrings OR earring hooks for dangly earrings
–heart cutter OR x acto knife
–small letter stamps OR clay carving tool
-baking sheet
-red acrylic paint
-jump rings( for dangly earrings only)
-resin or mod podge (optional)
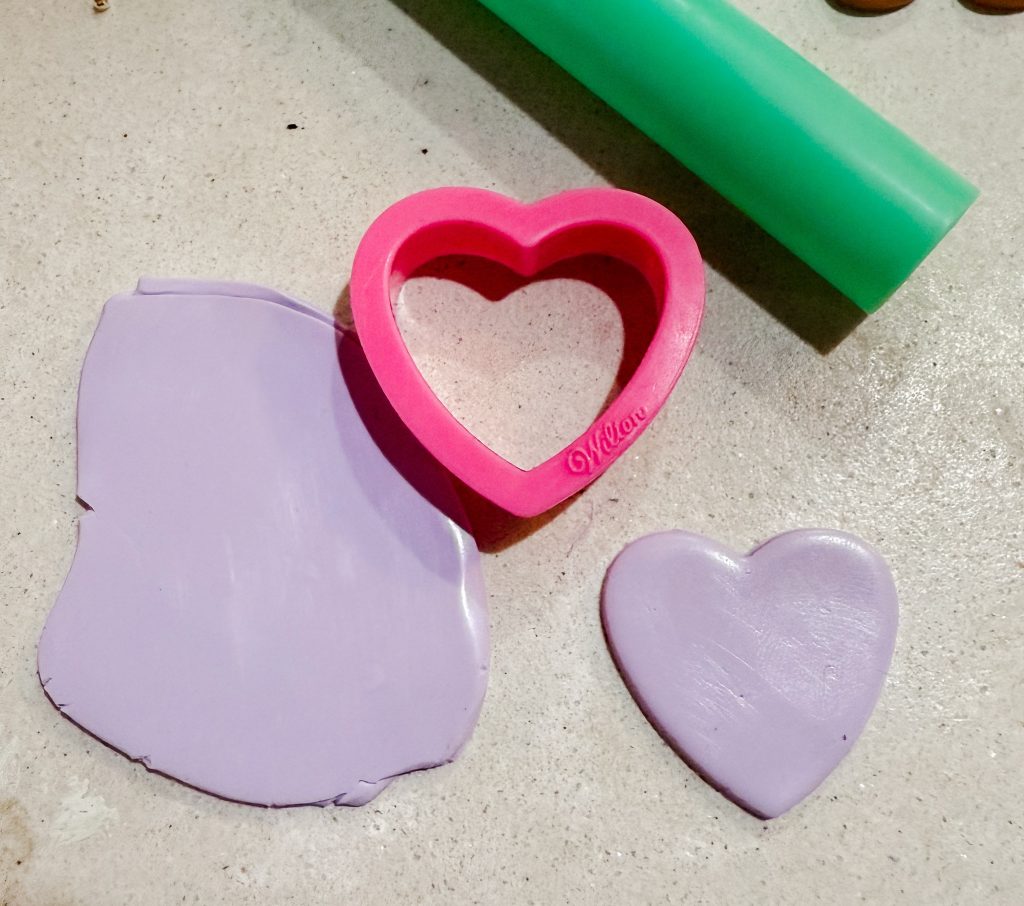
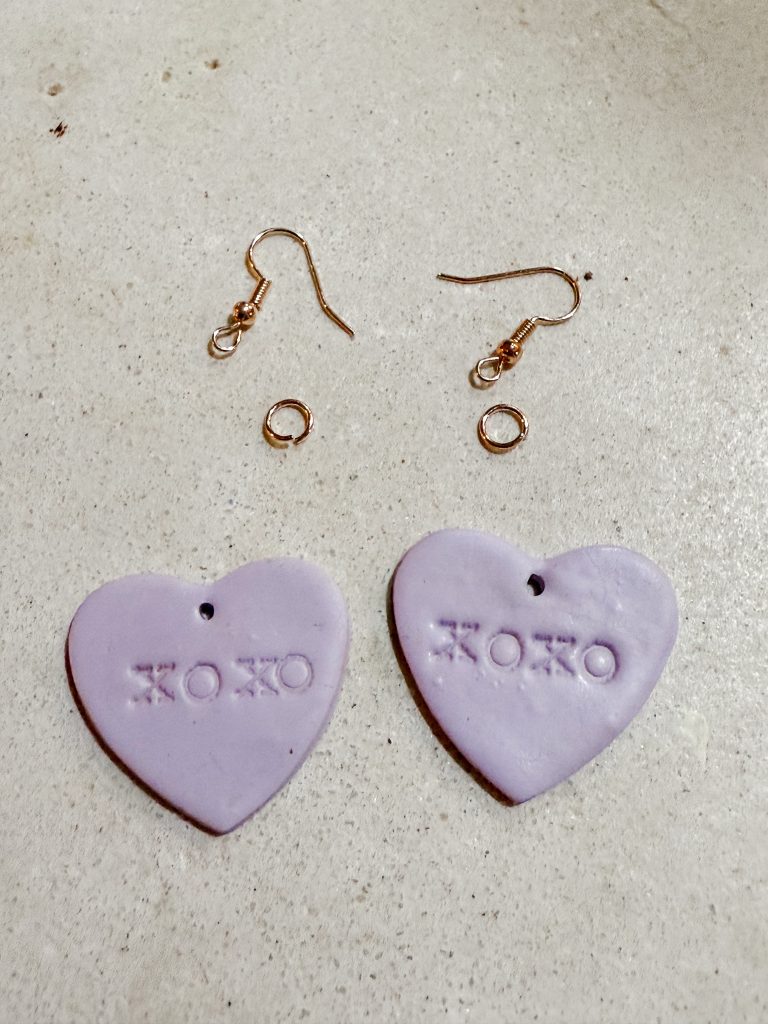
The first thing we’re going to do is roll out our slab of clay in our color of choice. Make sure the slab is of uniform thickness- I usually aim for about 1/4” thickness. Taking your small heart cookie cutter, cut out your shape from the slab. Smooth out any rough edges using a damp finger. If you are making stud earrings, you are ready to move onto the next step. If you are making dangly earrings,you will need to carve out a small hole at the top of your heart. The hole should be large enough to loop your jump rings through.
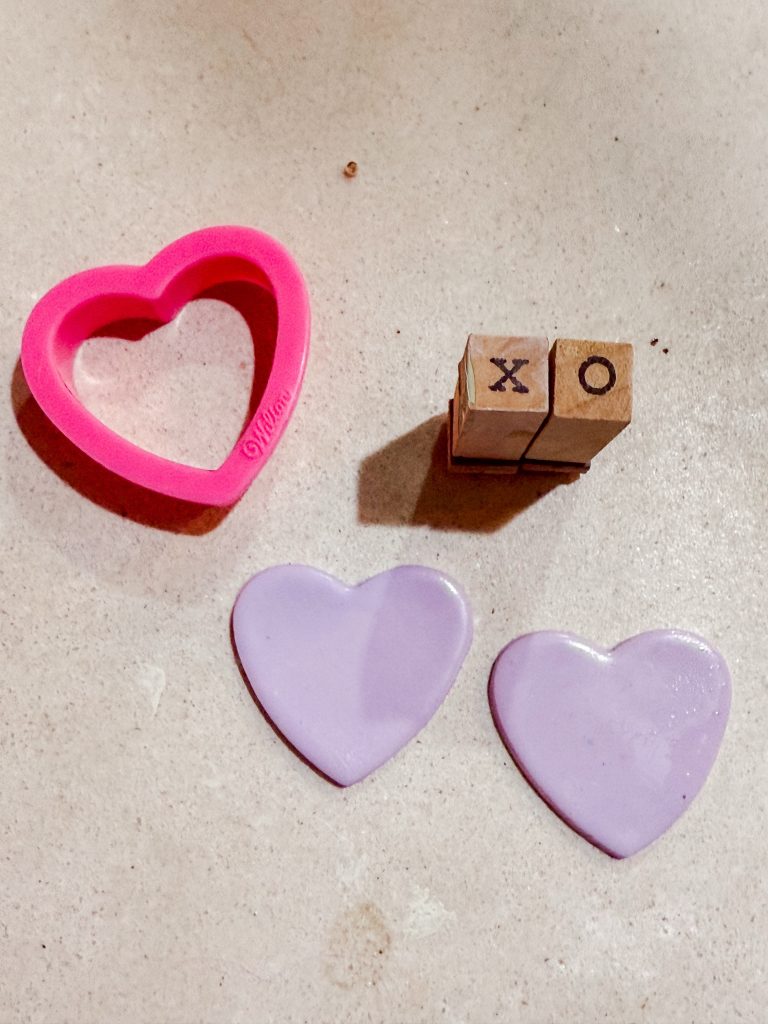
Now it’s time to write a message on the conversation heart earrings. You can carve the letters on freehand using a clay carving tool. Another option, what I’m doing here, is using small typeface letter stamps to write my message. I will be writing “xoxo” on my earrings, but you can write any message you’d like!
The next step is to bake our clay earrings so that they become hardened or cured. The great thing about polymer clay is that you don’t need access to any fancy equipment. You can bake your clay creations in any home oven! Grab a baking sheet and line it with parchment paper. Place your earrings on the prepared baking sheet. It is very important to line your baking sheet because once an unlined baking sheet is used to cook clay, it is no longer safe to cook food on. Preheat your oven to 275 degrees Fahrenheit and bake your pieces for 30 minutes. Allow your earrings to cool.
Now it’s time to add color to the letters. Take your red acrylic paint, dilute it with a little water, and dab it into the intentions of the letters. With a wet paper towel, wipe away any extra paint that is on the heart (outside of the letters). Seal your hearts if desired and let dry.
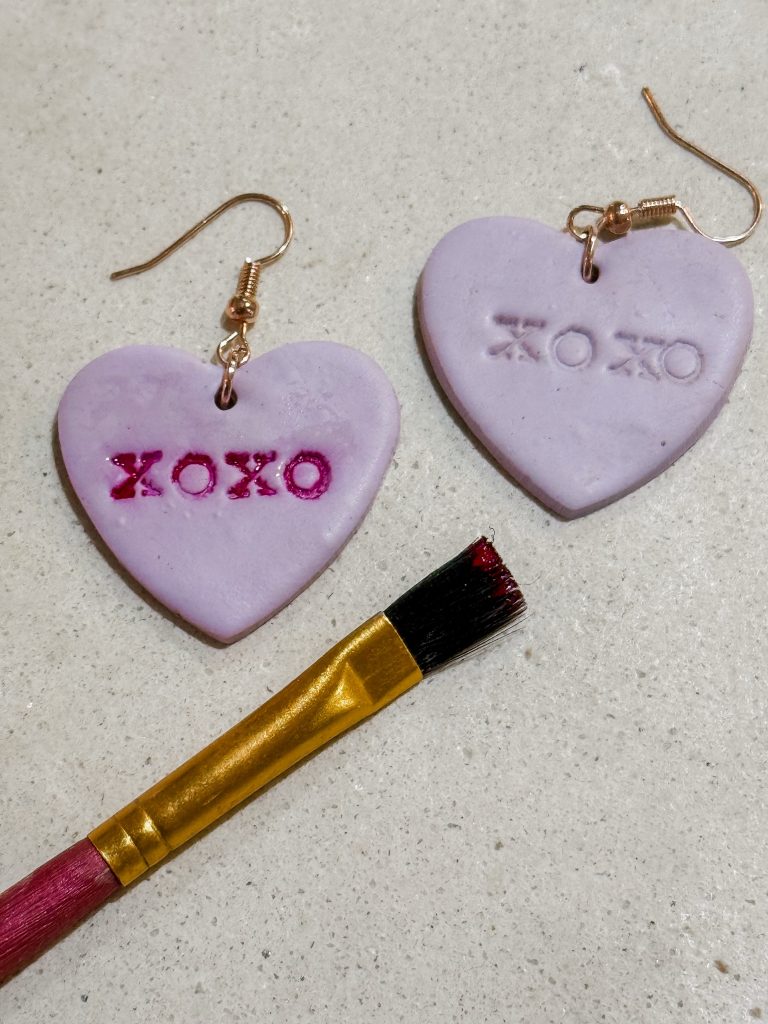
The final step is assembling your earrings. If you are making studs, you will simply take your earring posts and dab a little glue on the flat parts where the earrings go. Place your polymer clay earrings on the studs and allow to dry. For dangly earrings, take a jump ring and thread it through the holes in your earrings and the holes at the bottom of your earring hooks. You may need some small jewelry pliers for this, but if the metal is soft enough it can be done by hand.
There you have it- a fun pair of conversation heart earrings perfect for celebrating Valentine’s Day! I hope you have enjoyed this tutorial. For more pottery and polymer clay projects, you can find them HERE.